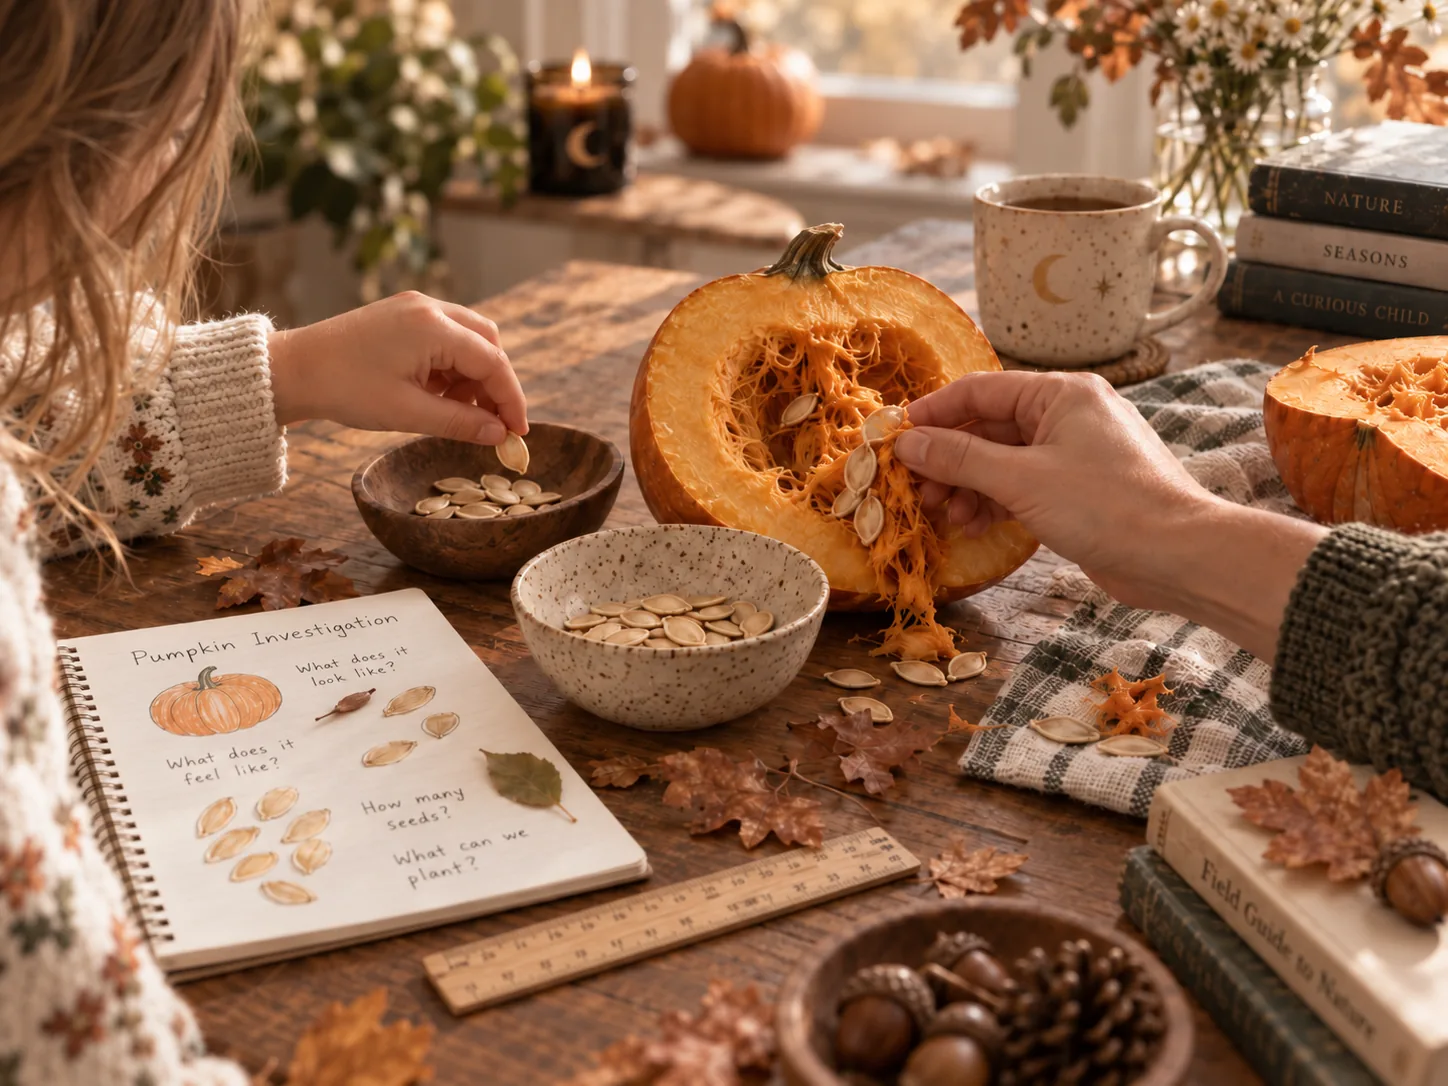
A pumpkin on the table gives you something a worksheet cannot: a real object to turn over, measure, open, and disagree about. You can begin with the outside, follow the seeds inward, or spend the whole session trying to work out how much string will fit around it.
This pumpkin nature study offers a few ways to investigate anatomy, measurement, counting, and prediction. Choose the question your child wants to answer. You can save the others for another day.
Gather a few ordinary supplies
You will need a pumpkin, string, a ruler or measuring tape, paper, and a pencil. A spoon and a bowl are useful if you plan to open it. A kitchen scale is optional, provided the pumpkin fits safely within its capacity.
An adult should handle the cutting. Wash the outside before opening it, especially if any part will be used for food; cutting can carry bacteria from the surface into the flesh. Illinois Extension explains this in its pumpkin preparation guidance.
A child who dislikes the feel of pumpkin insides can investigate with a spoon or watch someone else scoop. There is plenty to notice without putting a hand into the middle.
Notice the outside before naming the parts
Set the pumpkin where everyone can see it and ask, “What would you tell someone who had never seen this one?”
Round may be the first answer. Look again. Is it equally round from every direction? Does it lean? Are the ridges shallow or deep? Is the color the same near the stem as it is underneath?
A younger child might draw the outline or choose three words to describe it. An older learner could make a labeled sketch and distinguish observations from guesses. “The stem feels dry” is an observation. “It was picked a long time ago” is an explanation that would need more information.
Introduce the words that help describe what is actually there: stem, rind, and ribs. The rind is the outside covering; the ribs are the grooves and raised sections running along the surface.
The pumpkin is the fruit of a plant, rather than the whole plant. Its roots, leaves, vine, and flowers belong in a picture of the growing plant, even when they are absent from the pumpkin on your table. Illinois Extension describes pumpkins as botanical fruits and discusses their flowers and developing fruits.
Measure around it with string
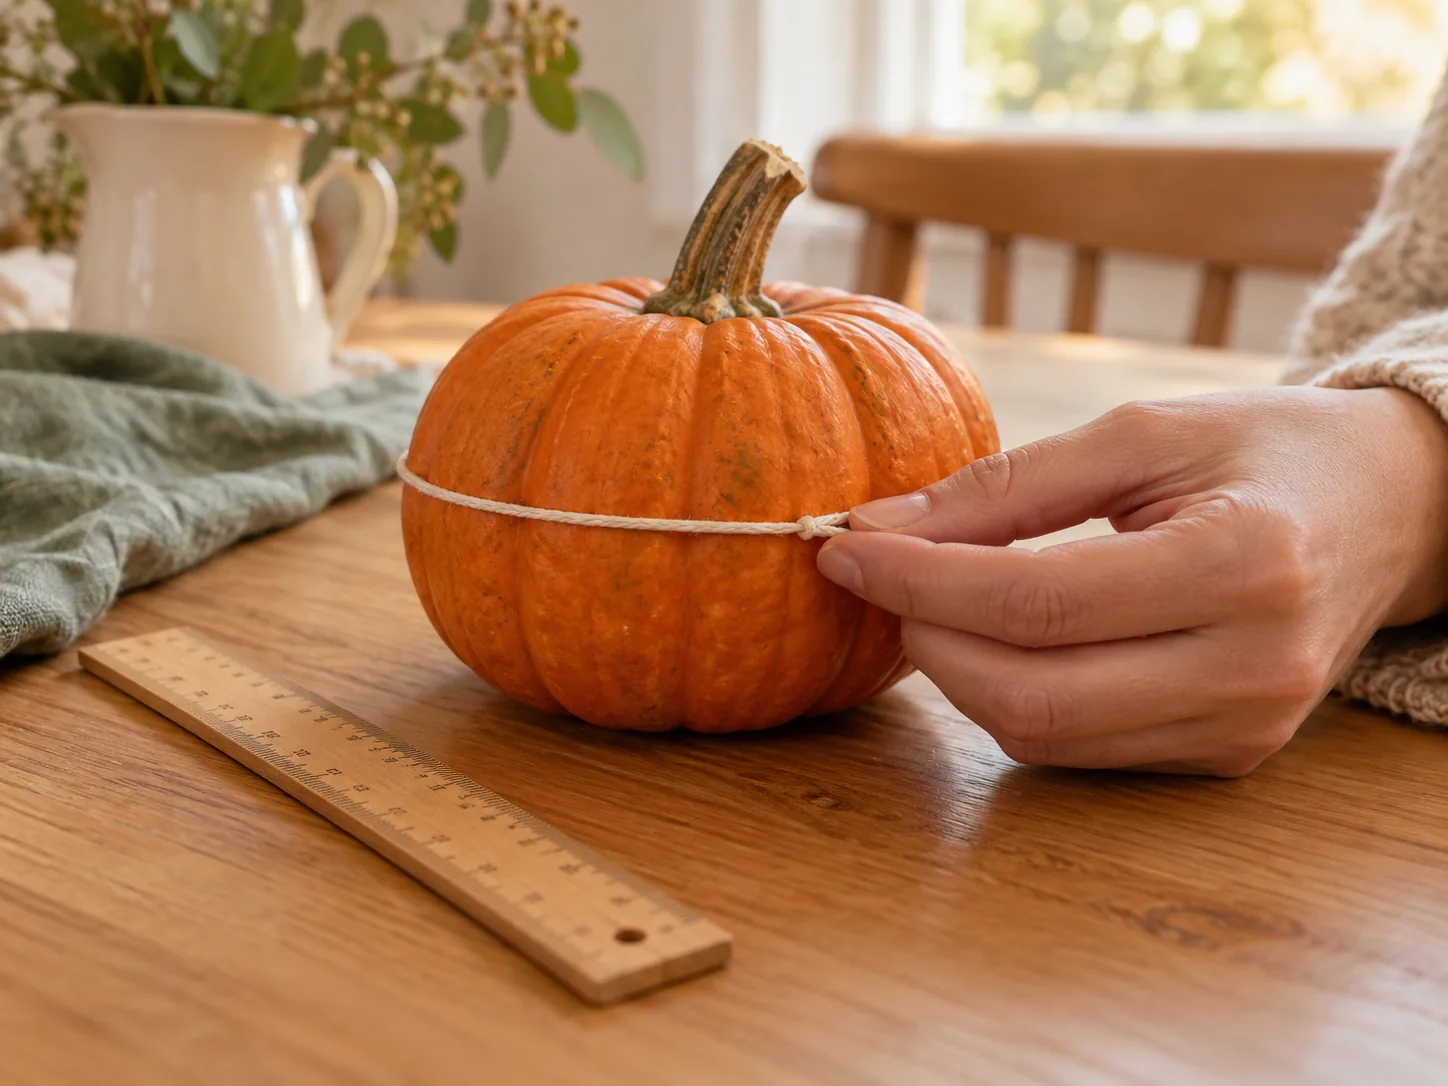
Ask your child to cut or choose a length of string they think will reach around the pumpkin’s widest part. Keep that prediction before testing it.
Wrap the string around the pumpkin, mark where the ends meet, and lay the measured length beside a ruler or measuring tape. That distance around is its circumference. Record the result in inches.
If you compare two pumpkins, measure them in the same way. You might find that the taller one is not the wider one. Ask which measurement answers the question you are interested in: height, distance around, or weight.
For young children, the comparison may be enough: this string is longer than that one. Older learners can record both measurements and calculate the difference.
Keep weight as a separate measurement. A string tells you how far around the pumpkin is; a scale tells you something different. Predict which of two pumpkins will weigh more, then check if you have suitable equipment.
Predict what you will find inside
Before an adult opens the pumpkin, invite everyone to draw what they expect to see. Ask:
- Where will the seeds be?
- Will the center be solid?
- Will the inside look like the outside?
- Which part do you think will be easiest to scoop?
When the pumpkin is open, compare the drawings with what is visible. Name the flesh, seeds, stringy tissue, and space inside. Illinois Extension’s preparation guide distinguishes the flesh from the seeds and stringy pith.
An unexpected result gives you something useful to discuss. “I thought the whole middle would be orange flesh, but there is space around the seeds” records a change in understanding.
For a closer look, choose one seed. Describe its shape, size, and surface. If you draw it, draw what you can see rather than the symbol for a seed you already have in your head.
Count a manageable handful
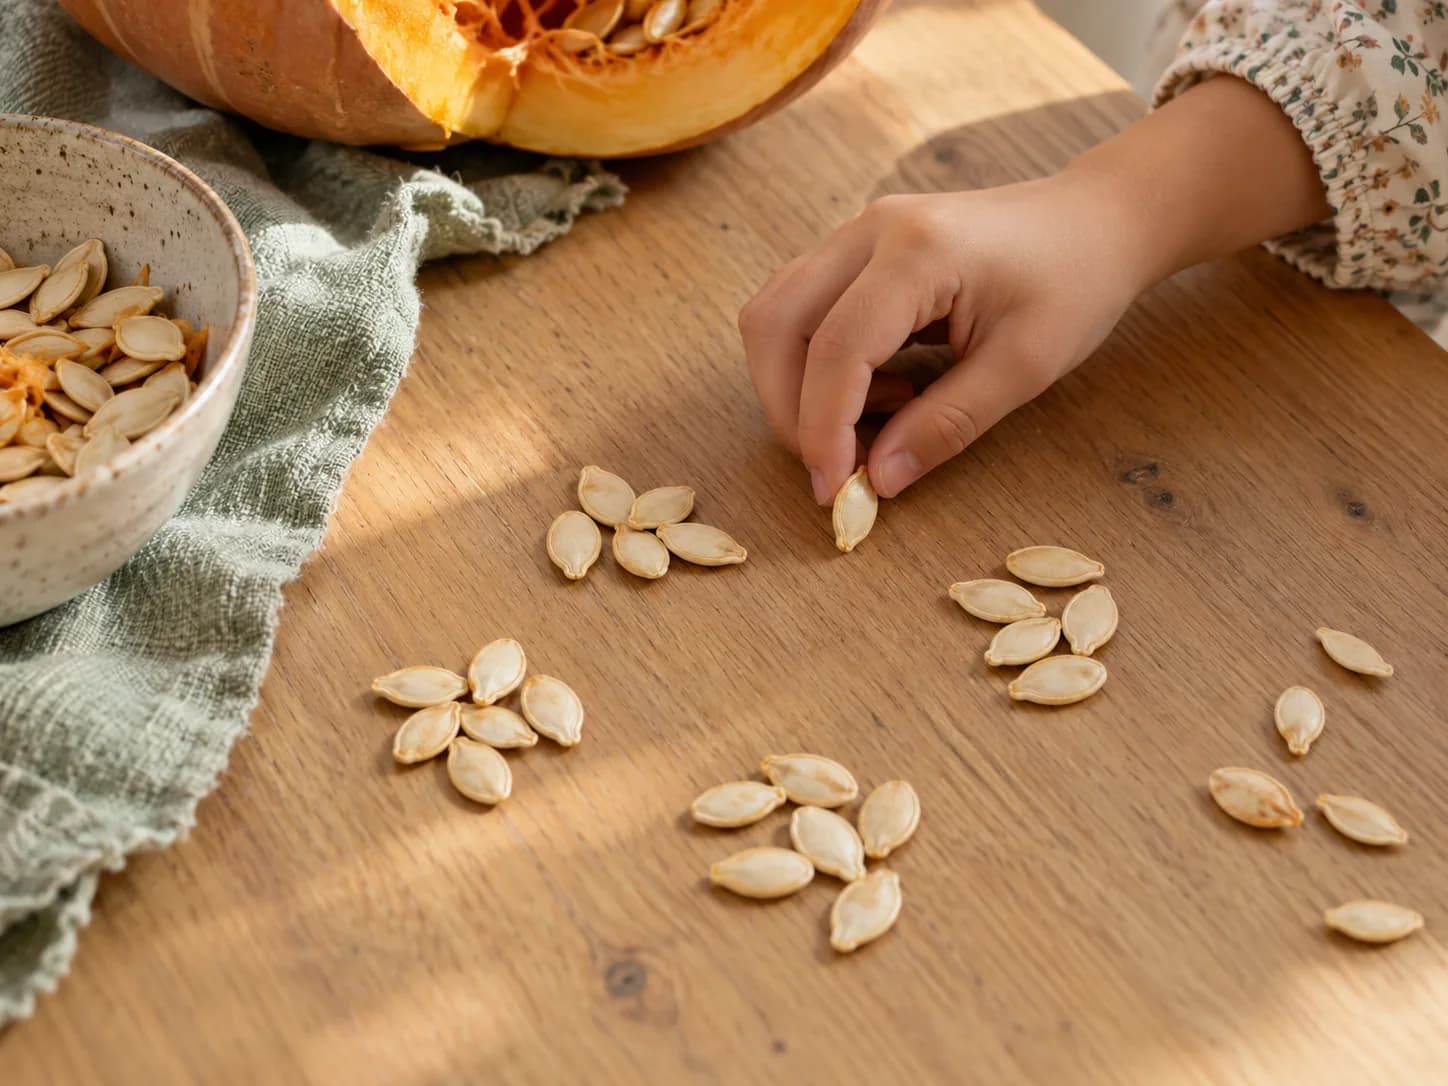
Counting every seed can become a much longer project than anyone intended. Scoop a small handful into a bowl and choose a task that fits the learner.
A young child can move each seed into a new pile as they count, helping them keep track of which ones are finished. Someone ready for groups can arrange seeds in fives or tens. An older learner might count several spoonfuls and notice how much the totals vary.
If you estimate the whole pumpkin’s seed count from a sample, describe it as an estimate. Spoonfuls differ in size, and some contain more stringy material than others. That uncertainty is part of the investigation.
You can also sort seeds by visible features. Ask your child to explain the sorting rule before someone else tries to follow it.
Record one thing that changed your mind
A short record can hold the useful part of the lesson:
| Question | My prediction | What I observed |
|---|---|---|
| How much string will reach around the pumpkin? | Draw or describe the length | Record the measurement |
| What will the inside look like? | Draw it before opening | Add something you missed |
| How many seeds are in this handful? | Make an estimate | Count and compare |
Children can dictate answers, make drawings, or write a sentence. Choose the recording method that lets them explain their thinking.
Try ending with “What would you investigate next?” Their answer might lead to a second pumpkin, a question about the growing plant, or a decision that they have learned enough for today.
Choose a printable that fits the learner
October Wonders provides a ready-made way into pumpkin investigations for ages 4–7, alongside the rest of its October nature activities.
For a short writing session after the investigation, Autumn Nature Copywork includes an Inside a Pumpkin lesson with manuscript tracing and copying. The nature copywork guide explains how to choose the amount of writing and keep spoken answers available.
If an older child wants to keep observing a pumpkin over time, the Spooky Homeschool Week guide and free printable pack include a pumpkin observation activity.
You can also read How to Use Seasonal Learning Without Turning It Into More School for help choosing how far to follow a seasonal question.
Sources
- Illinois Extension — Pumpkin Recipes: botanical classification.
- Illinois Extension — Answers to Your Questions About Pumpkins: flowers, vines, and developing fruit.
- Illinois Extension — Preserving Pumpkin: preparation, rind, flesh, seeds, and stringy tissue.