HOME · MAKING TOGETHER
Make a Textured Cardboard Village
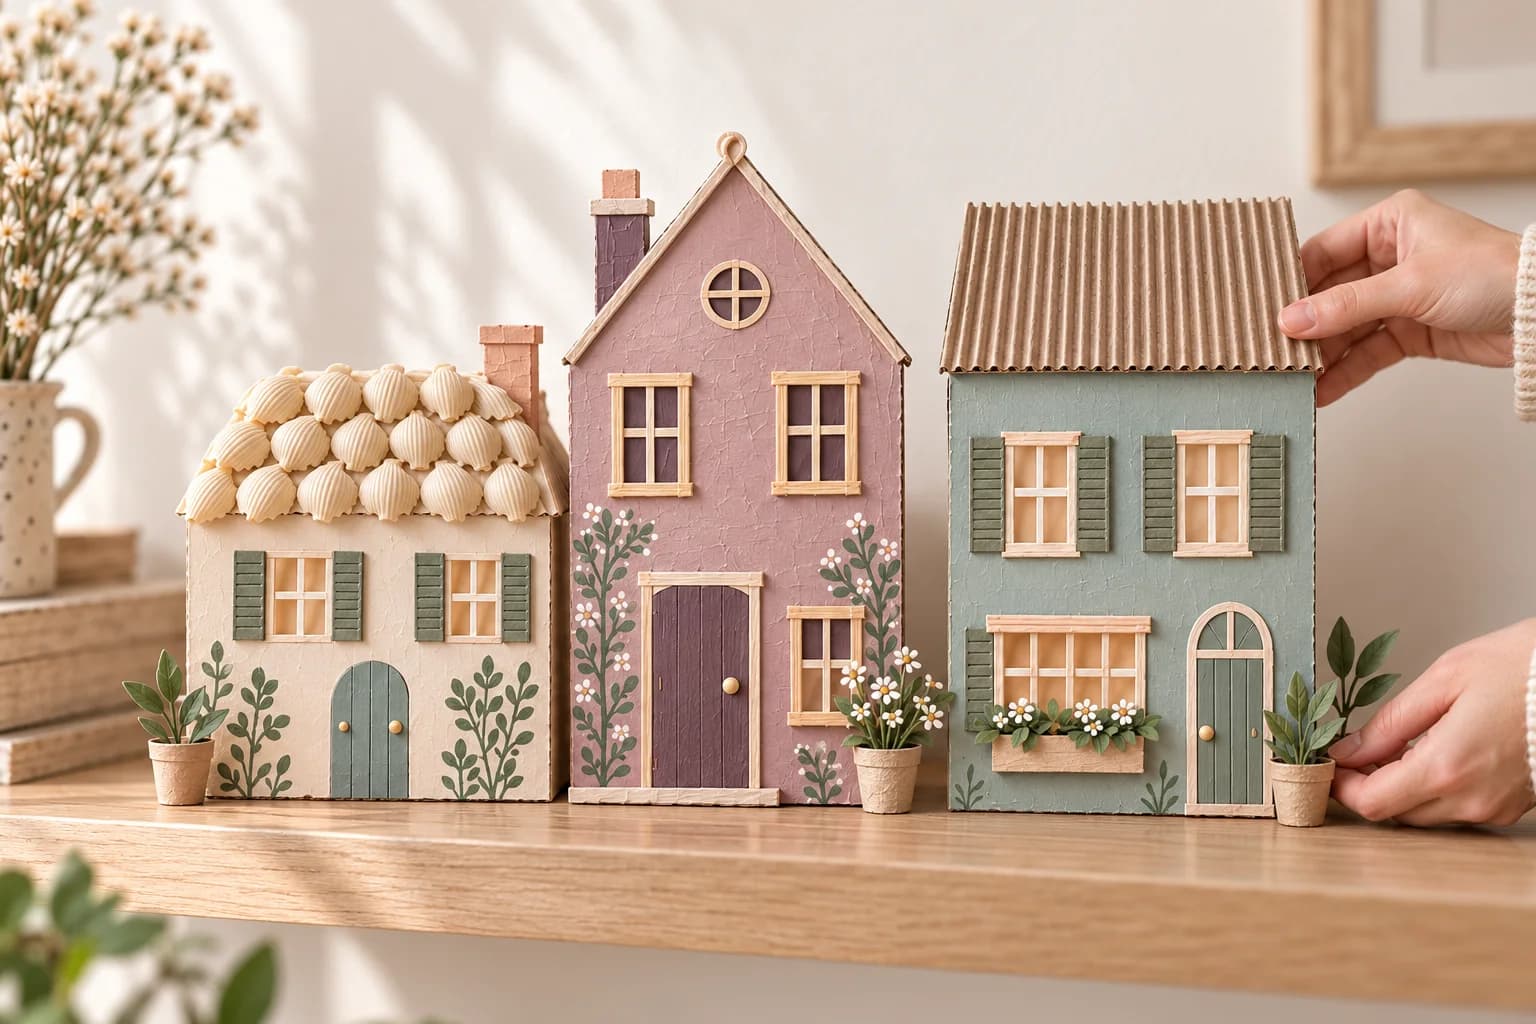
Save a cereal box, pull out a few pasta shapes, and make a little street. Shells become roof tiles, spaghetti makes window trim, and corrugated card gives you the beginnings of a very respectable plant shop.
What you’ll need
- Clean cereal-box card or other thin cardboard for house fronts
- Sturdier card for stands; corrugated packaging for roofs or shutters
- Dry shell pasta, short pieces of spaghetti, or other shapes you already have
- Tacky craft glue suitable for card, plus a protected work surface
- Pencil, ruler and scissors; an adult should handle difficult cuts
- Craft paint and brushes; paper scraps for optional plants or shop signs
1. Cut a few house fronts
Open a clean cereal box and draw on its plain inside. Start with a rectangle topped by a triangle, then try a narrower house, a flat roof, or a little chimney. House fronts about 5–7 inches tall are a manageable starting size, but they don’t need to match.
Cut around the outside shapes. Draw the doors and windows on the surface and leave those areas solid; you can paint them later. That keeps the cutting straightforward and gives the thin pasta trim something to stick to. Use thinner card if the scissors are struggling.
2. Try the pasta before reaching for glue
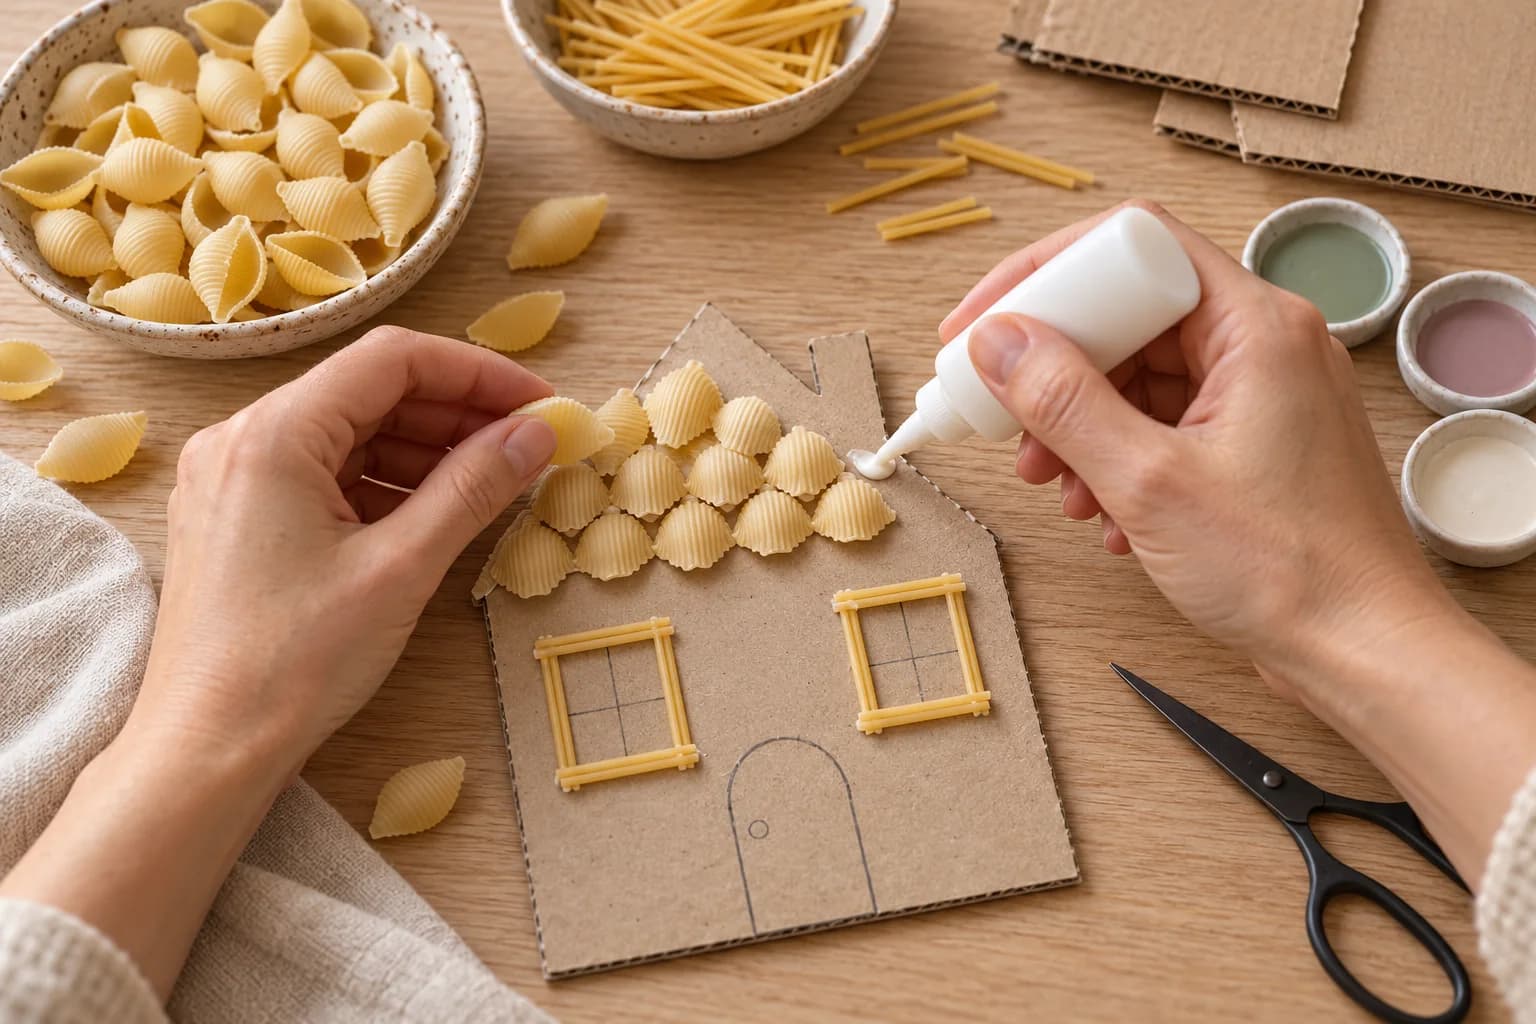
Lay the facades flat and arrange the details. Shell pasta makes rounded roof tiles; small straight pieces of spaghetti can frame a window. A strip of corrugated card gives you a ridged roof or shutters without needing dozens of tiny pieces.
Keep the details within the silhouette so they have card behind them for support. For a shell roof, begin with one row near the lower roof edge, then try another row above it with a slight overlap. A handful of pieces is enough for a smaller roof.
3. Glue the texture and let it set
Lift each piece, add a small amount of tacky glue to the contact points, and put it back. Press gently rather than crushing the pasta. Work from the lower row upward on an overlapping roof, and keep the whole facade flat until the adhesive has dried according to its label.
If thin card starts to curl, you may be using too much glue. For the next house, use less or mount the facade on another piece of card first. Don’t put a heavy book on the pasta roof to flatten it; the shells are rather less cooperative under a book than plain paper.
4. Paint the houses in a few faded colors
Once the glue is dry, paint the walls, doors and trim. Work in thin coats with a brush that is damp rather than dripping. Give each coat time to dry so the card and pasta don’t become soggy.
Try ivory walls with a sage-blue door, dusty mauve with a faded plum door, or olive shutters on a blue house. Leave some pasta or cardboard its natural color if you like the texture. A few painted stems beside a doorway are enough to suggest a climbing plant; paper leaves work, too.
The windows can be painted rectangles with trim glued around them. If you want a bookshop or bakery, write a little sign on paper and glue it on when the paint is dry. Your village is allowed to have three plant shops if that’s where the planning takes you.
5. Add a stand behind each house
Use sturdy card to make a small triangular tube that can sit behind the facade. One starting size is a strip 1½ inches wide and 7 inches long: mark folds at 2, 4½ and 6 inches, leaving the last inch as a glue tab. This makes a 2-inch base, a 2½-inch sloping panel and a 1½-inch upright panel. Fold the strip into a right triangle and glue the tab inside the first panel.
Let the tube dry. Rest the 2-inch panel on the table, then glue the 1½-inch upright panel against the lower back of the house. Keep the bottom of the facade touching the table while the glue sets. The support should extend behind the house; check from the side before gluing every stand.
Test each house on a flat surface. A tall or top-heavy facade may need a wider support or two supports spaced apart. If it still tips, make the roof lighter or display it leaning securely against a backing panel.
6. Put the street together
Arrange the houses on a shelf or a strip of card. Add a paper path, a tiny garden, or rolled paper pots with cut-out leaves. Keep the houses loose if you want to rearrange the street; glue the stands to a larger base if you want a fixed display.
Store the village somewhere dry and away from heat or candles. These little buildings work best as decorations: the raised pasta details can snap if they become the setting for enthusiastic small-world play.
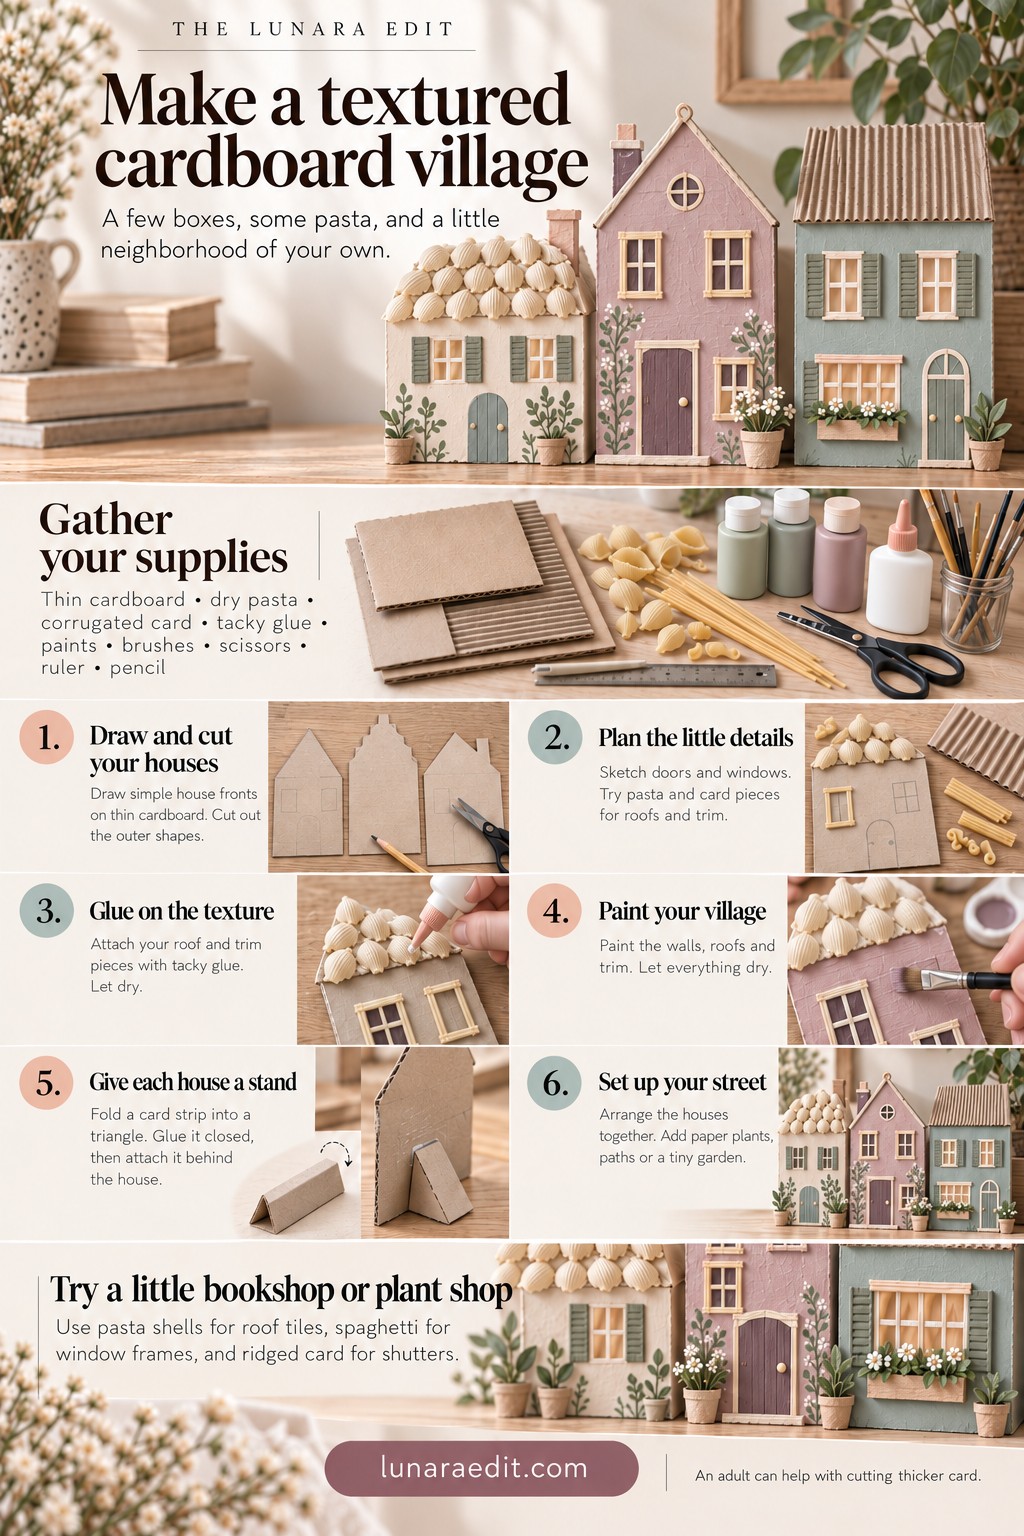
Keep the illustrated steps nearby
Open the image at full size if you’d like a closer look at the steps.
For another project with fabric scraps, try the fabric pumpkin garland and tabletop pumpkins.