HOME · MAKING TOGETHER
Make a Paper Leaf-Rubbing Quilt
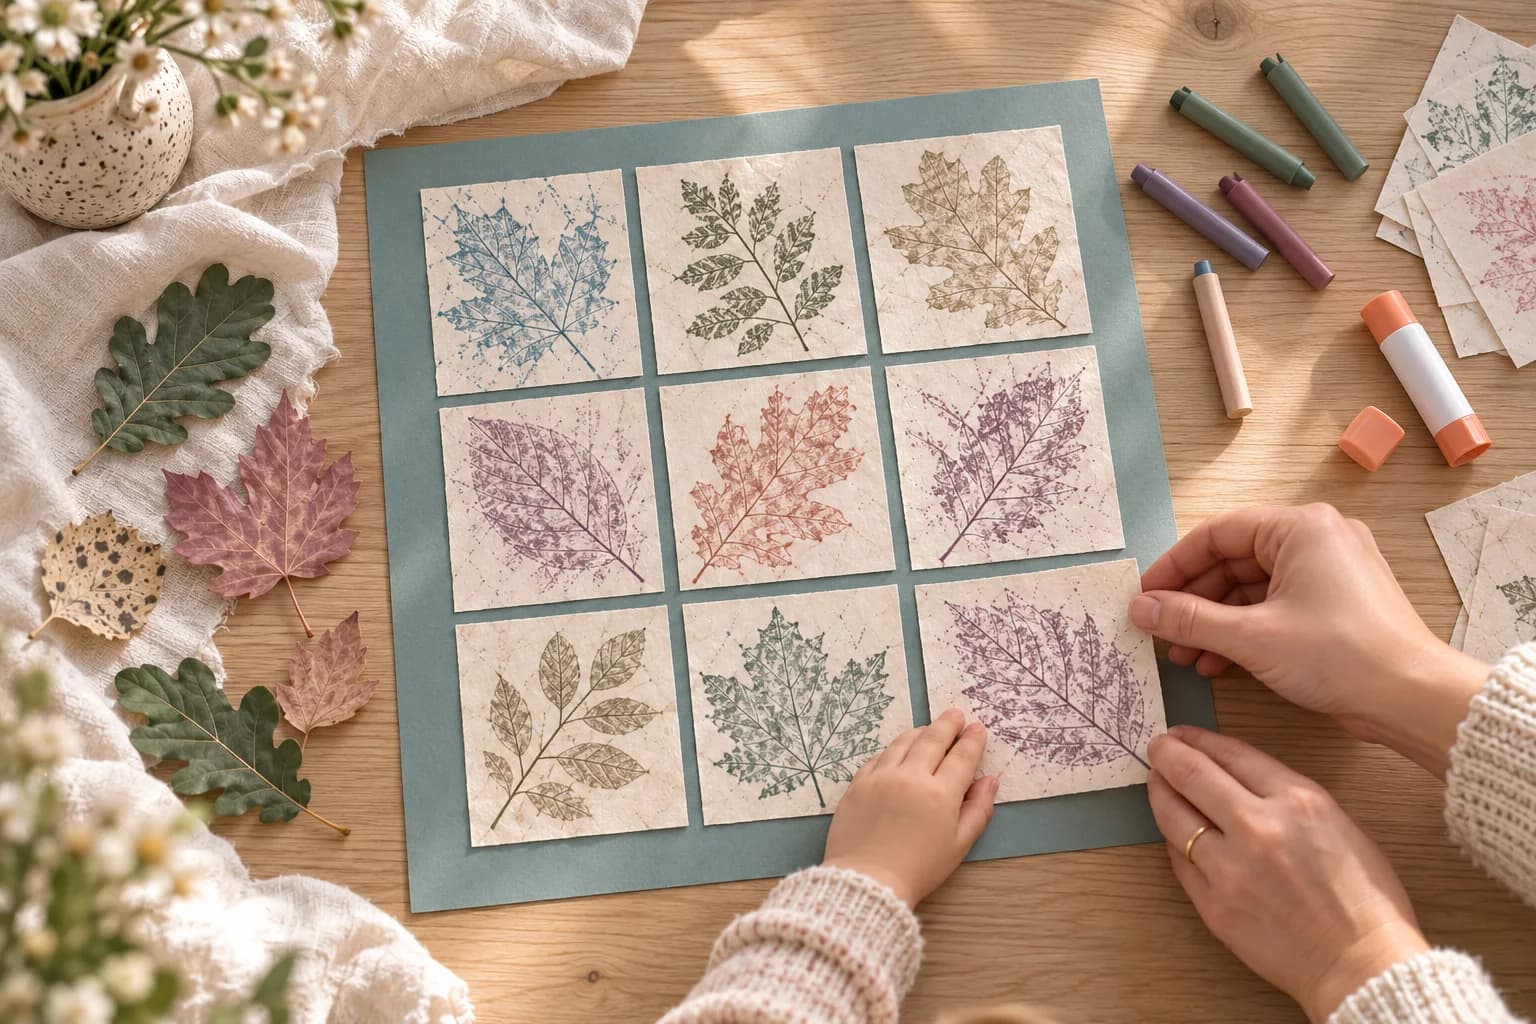
A few leaves, the sides of some crayons, and a little paper patchwork. Each person can make a few squares, then you can try the whole collection together on one backing sheet.
What you’ll need
- A few clean, flexible leaves with raised veins
- Thin drawing, copier or tracing paper; save thicker card for the backing
- Wax crayons with the paper wrappers removed
- Scissors, a ruler and pencil
- A glue stick and a 12-inch-square backing sheet, or paper joined to make one
- A marker for the border; a white gel pen or paint pen if you want pale stitches on darker paper
1. Find leaves you can feel
Turn a leaf over and run a fingertip gently across the back. The raised veins are the parts you want to catch with the crayon. Choose a few different shapes, wipe off any dirt, and pat the leaves dry. Very brittle leaves tend to crumble or shift under the paper.
Use familiar, safe-to-handle leaves, and wash hands afterward. One oak leaf, a small maple leaf, or several little leaves on a stem will give you quite different patterns. Try what you have before gathering a whole basket.
2. Make a few test rubbings
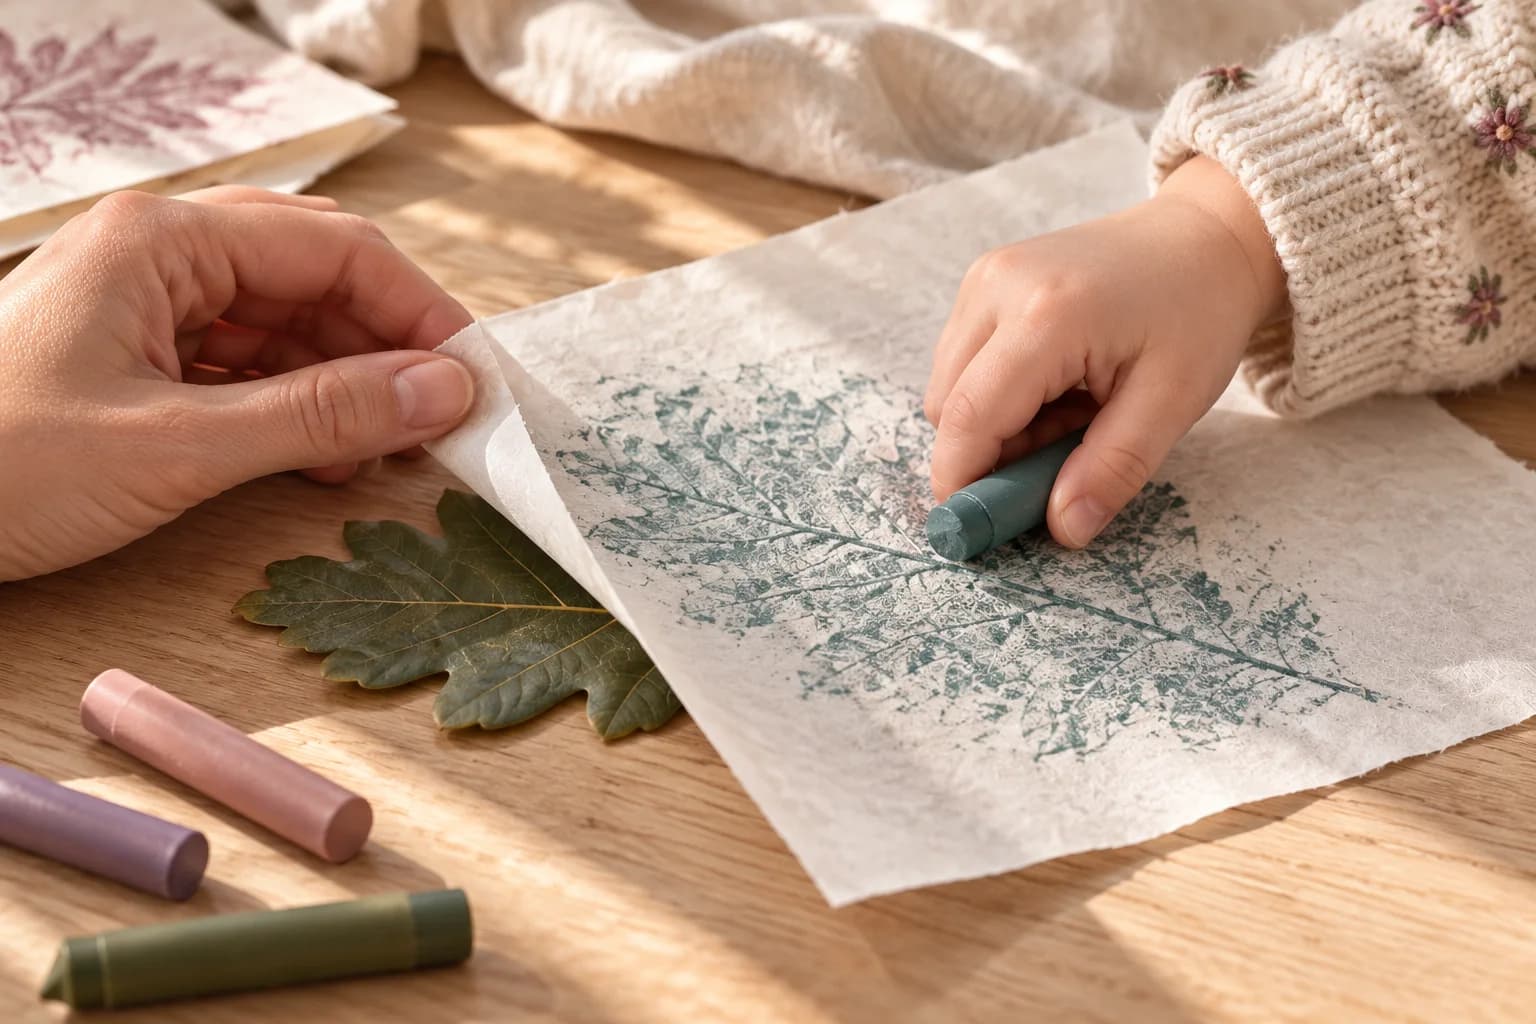
Place a leaf on a firm, smooth table with its more strongly raised veins facing up. Lay thin paper over it. Hold the sheet still with one hand, or have someone hold it for you, and rub gently with the side of an unwrapped crayon.
Begin with light pressure and pass over the same area again if it needs more color. If you get a solid patch with very little detail, ease up. If almost nothing appears, try thinner paper or a leaf with more pronounced veins. Thick watercolor paper makes this unnecessarily difficult.
You can use the same leaf again in another color. Faded blue, olive, dusty mauve, pale peach, and plum look lovely together, but let everyone choose a color they actually want to use.
3. Cut nine squares
Make more rubbings than you need so you have a few to choose from. Mark and cut nine 3-inch squares, moving the square around each rubbing until you like the bit of leaf it includes. A leaf can run off the edge; every square doesn’t need a whole, centered specimen.
For younger children, an adult can draw or cut a 3-inch card template to trace around. If measuring becomes the part that stops the project, cut the squares beforehand and make the rubbings directly on them. Leave enough paper around a small leaf to hold it still.
4. Try the patchwork before gluing
Arrange the nine squares in three rows of three on a 12-inch-square backing. Leave roughly ¼ inch between squares. That leaves room for a border around the outside, too. If you’re using ordinary Letter paper for the backing, join sheets from behind or make a smaller arrangement instead.
Move a few squares around and see what changes. You might alternate colors, repeat one leaf down a row, or let each person choose where their pieces go. When you like the arrangement, lift one square at a time, apply glue to its back, and press it into place.
5. Draw the quilt border
Add short dashed lines around the backing to suggest stitches. Use an ordinary dark marker on pale paper, or a white gel pen or paint pen for the cream-colored stitches shown on the sage-blue version. Test the pen on a scrap first and let the marks dry before handling.
Hang the finished patchwork with a clip or a little removable tape suited to your wall. The squares are paper, so keep it somewhere dry and out of splashes.
Make a family version, or keep collecting
Each person can contribute two or three squares to one quilt. If someone wants to make twenty rubbings and someone else is finished after one, put the extras aside for cards, little gift tags, or a second patchwork.
If the leaves came from a walk, you could add the place and date on the back. Children who want to investigate further can compare which leaves gave the clearest veins and try to explain why. The quilt can also simply go on the wall when the glue is dry.
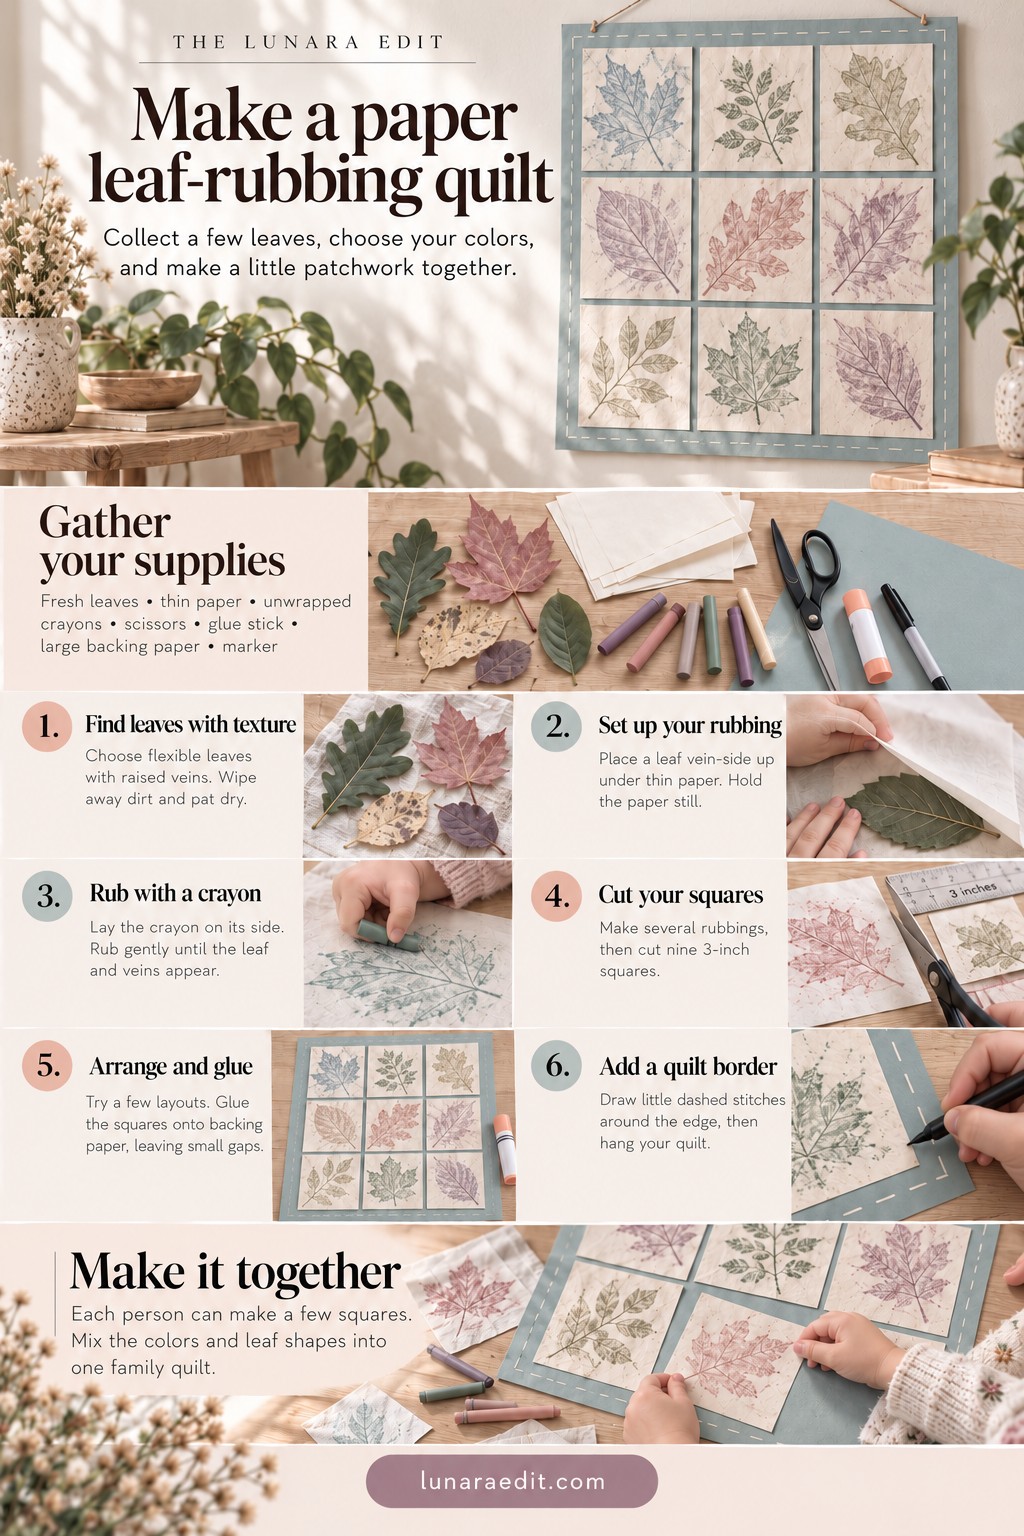
Keep the illustrated steps nearby
Open the image at full size if you’d like a closer look at the steps.
For another project with fabric scraps, try the fabric pumpkin garland and tabletop pumpkins.