HOME · MAKING TOGETHER
Make a Winter Sun Hanging with Dried Oranges
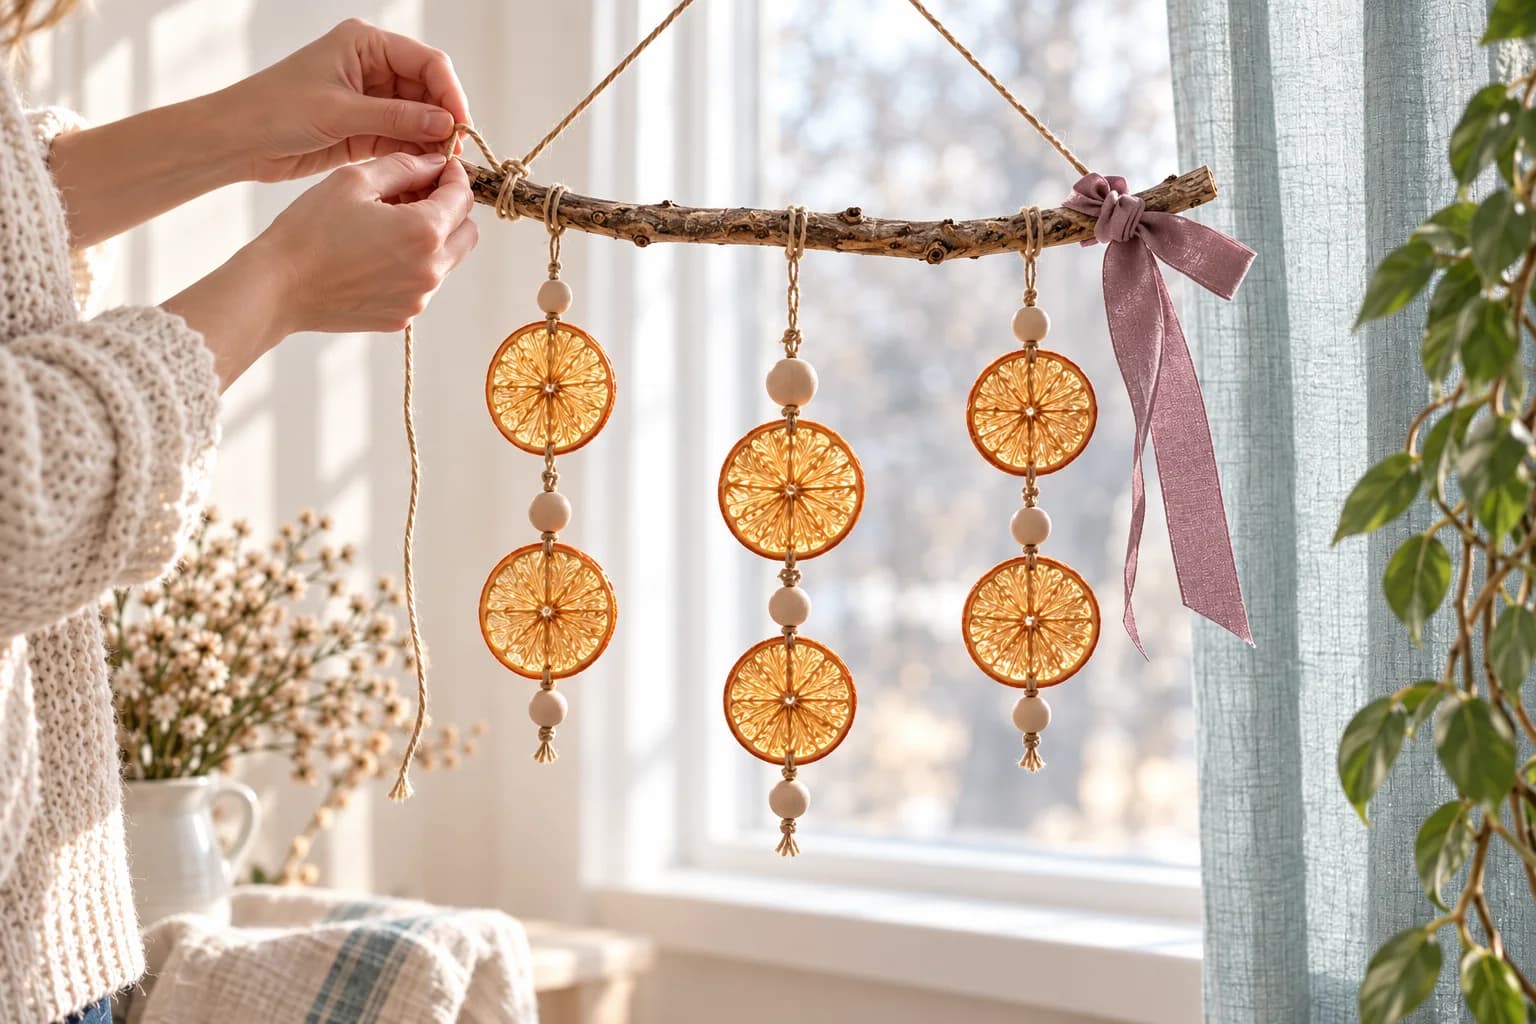
Thin orange slices catch the window light beautifully. String a few with wooden beads, tie them to a dry branch, and finish with a ribbon in dusty mauve, faded plum, or whatever color you keep coming back to.
What you’ll need
- Two or three oranges; choose six sound dried slices for the hanging and keep extras in case a slice tears
- A knife, cutting board and clean towels for adult preparation
- Baking sheets, parchment, an oven and a cooling rack
- Thin strong twine, a large-eyed needle and wooden beads with holes that fit your twine
- A clean, dry branch about 12–16 inches long, plus cord for the hanger
- Scissors and an optional length of ribbon
1. Slice the oranges evenly
Have an adult cut the oranges into slices about ⅛ inch thick. Try to keep them even: one very thick side can still feel damp when the thin side looks finished. Blot both sides with a clean towel and place the slices in a single layer on a parchment-lined baking sheet, with space between them.
Cut more than six slices so you can choose a balanced set for the hanging. A few smaller end slices can go on a shorter strand or become individual ornaments later.
2. Dry slowly, then check after cooling
Clemson Extension recommends an oven at 175°F. If your oven won’t go that low, use its lowest setting without going above 200°F. Turn the slices every 30 minutes. Allow about 3–6 hours, checking their condition as you go; thickness and the oven affect the timing.
Cool the slices on a rack before checking them. They should be dry all the way through, without soft or sticky areas. Return any that still feel damp for more drying. A slice that looks pretty in the light can still need more time in the oven.
3. Lay out the strands
Place the branch on the table and arrange three rows beneath it. Try two slices on each strand, wooden beads between them, and a longer center strand. Leave space between pieces so each orange catches some light.
Cut each length of twine generously longer than the arranged row so you have enough for knots and tying it to the branch. Before threading anything, check that both the needle eye and bead holes can take the twine. Fine cord is easier to use here than a very thick, hairy jute.
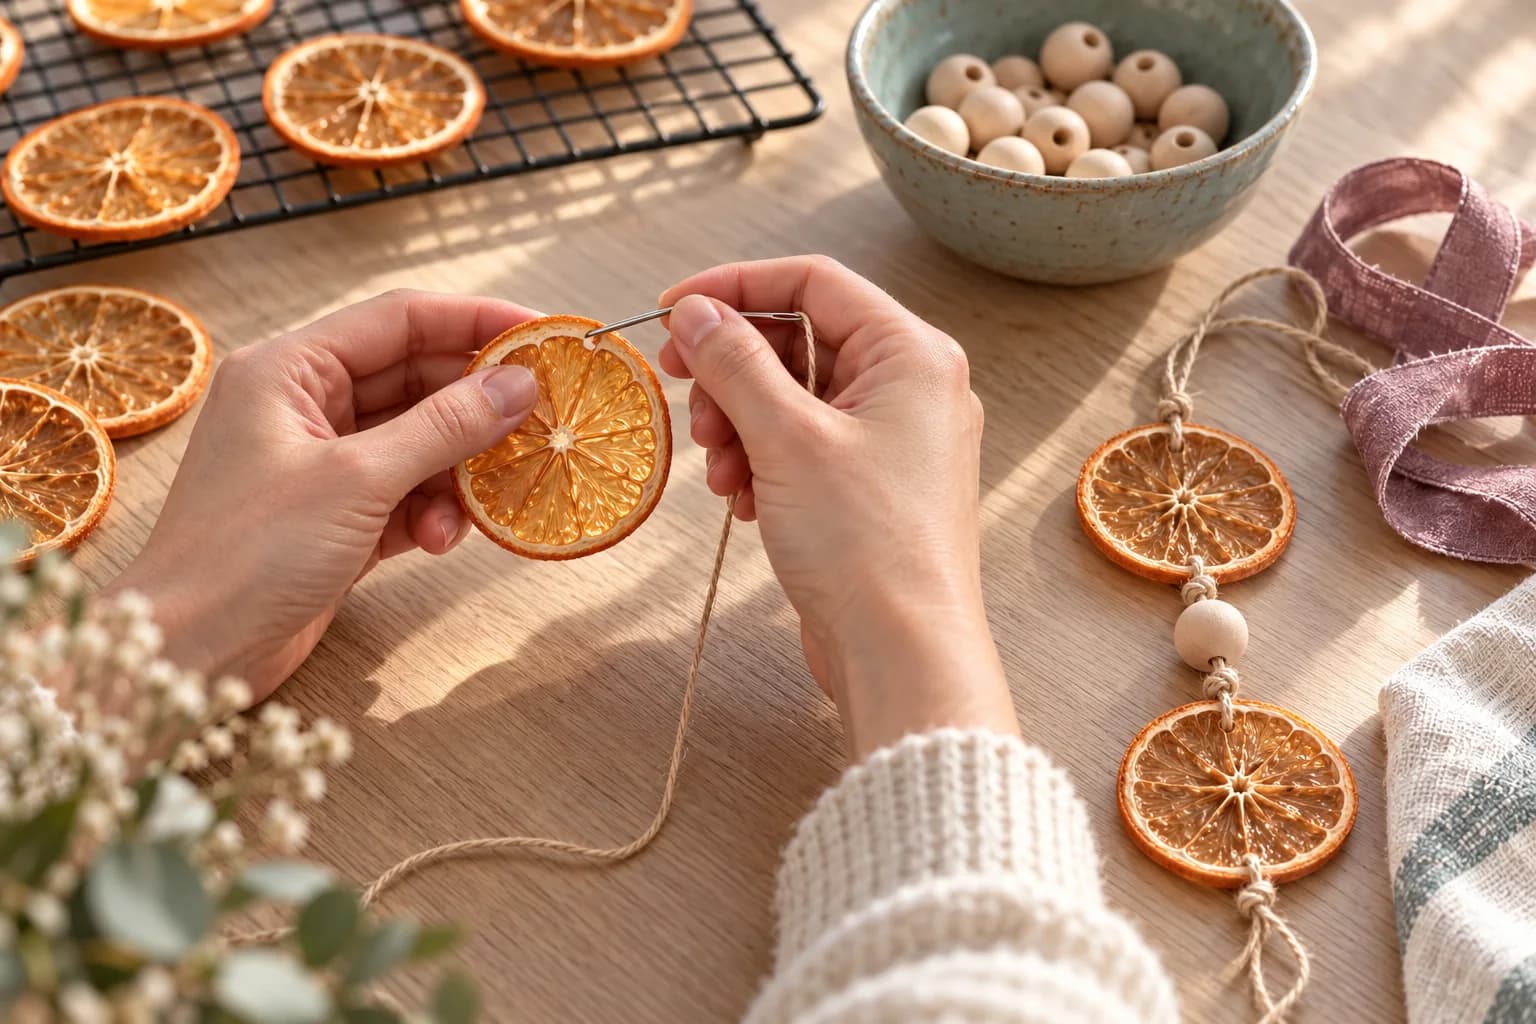
4. Thread with stops below each piece
Work from the bottom upward. Tie a stop knot near the end of a strand, thread on a bead, and check that the knot cannot slip through its hole. Add another knot above the bead at the point where you want the bottom of the first orange to rest.
An adult can use the needle to make a small hole near the lower rind of the slice and another near its upper rind. Pass the twine through the lower hole from front to back, run it up the back, then bring it forward through the upper hole. Pull gently until the lower edge rests above its stop knot.
Tie the next stop knot where you want another bead to sit, thread that bead on, and continue. Keep a little space around each orange instead of cinching the cord tightly against it. If a rind tears, use another slice or tie that piece on separately as a single ornament.
5. Tie everything to the branch
Tie each strand firmly around the branch and adjust the spacing before trimming the ends. Add a separate hanger cord tied to both ends of the branch. Lift it over the table first, check the balance, and tighten or reposition any strand that slips.
Tie a ribbon near one end if you like. The faded mauve in the pictures keeps the orange and wood colors soft; burgundy velvet gives the same project a deeper winter look. The ribbon is decorative, so the strong cord should carry the hanging.
Hang it from a secure hook in a bright, dry window where it won’t get wet from condensation. Keep the hanging cords and beads out of reach of small children and pets, and well away from candles and other heat sources.
A little winter symbolism
Citrus appears in some modern pagan Yule celebrations. Charlotte Wilde describes dried citrus garlands in her own account of contemporary Yule crafting, with oranges associated with good fortune and prosperity. At The Outdoor Apothecary, Barbi Gardiner describes orange pomanders as symbols of the sun’s energy.
For this hanging, the little golden circles can be your own nod to the winter sun. Make it for a solstice celebration if that fits your household, or simply for the light through the slices on a winter afternoon.
When the season is over
Check the slices before storing them. Fully dried oranges can be kept in an airtight container in a cool, dark place; let the hanging come fully dry first if it has picked up any moisture. Discard slices that show mold or spoilage, and save the branch, beads and ribbon for another batch.
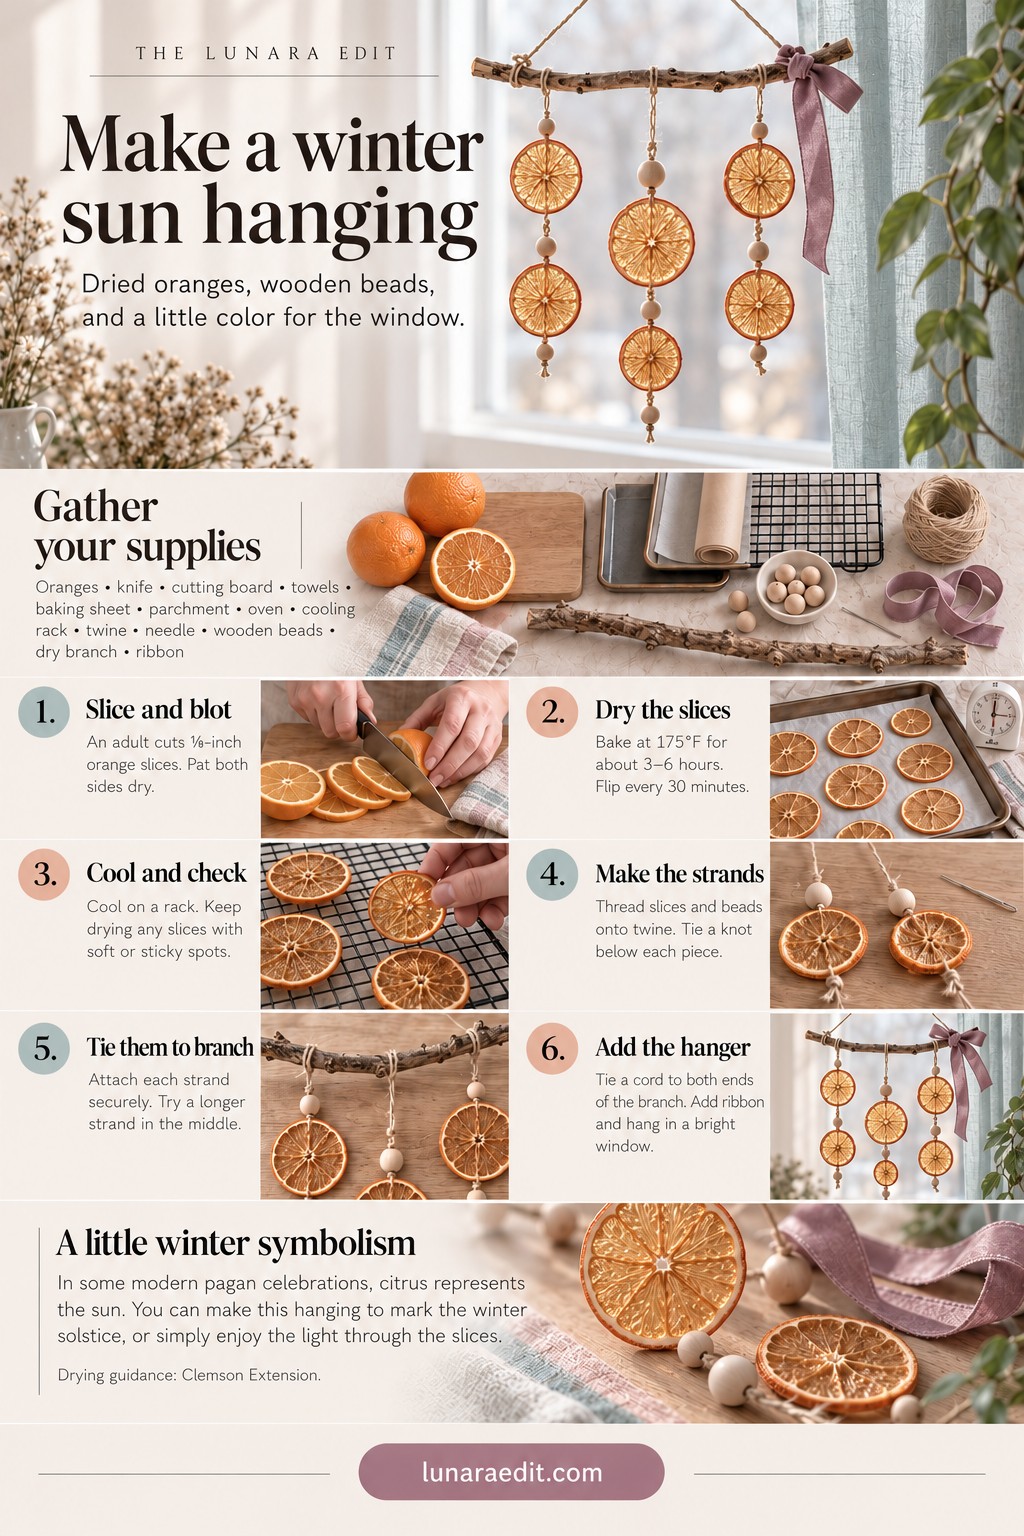
Keep the illustrated steps nearby
Open the image at full size if you’d like a closer look at the steps.
Sources and further reading
- Clemson Extension: Drying Oranges for Holiday Decorations — Oven temperature, slice thickness, turning, dryness checks and storage guidance.
- Charlotte Wilde: How Do Pagans Celebrate the Winter Solstice in Yule? — A practitioner’s account of modern citrus garlands and Yule crafting.
- Barbi Gardiner: Celebrating the Winter Solstice — A modern practitioner’s use of orange pomanders as solar symbols.
For another project with fabric scraps, try the fabric pumpkin garland and tabletop pumpkins.